The Crucial Steps For Effective Mold Removal After Flooding In Palm Beach
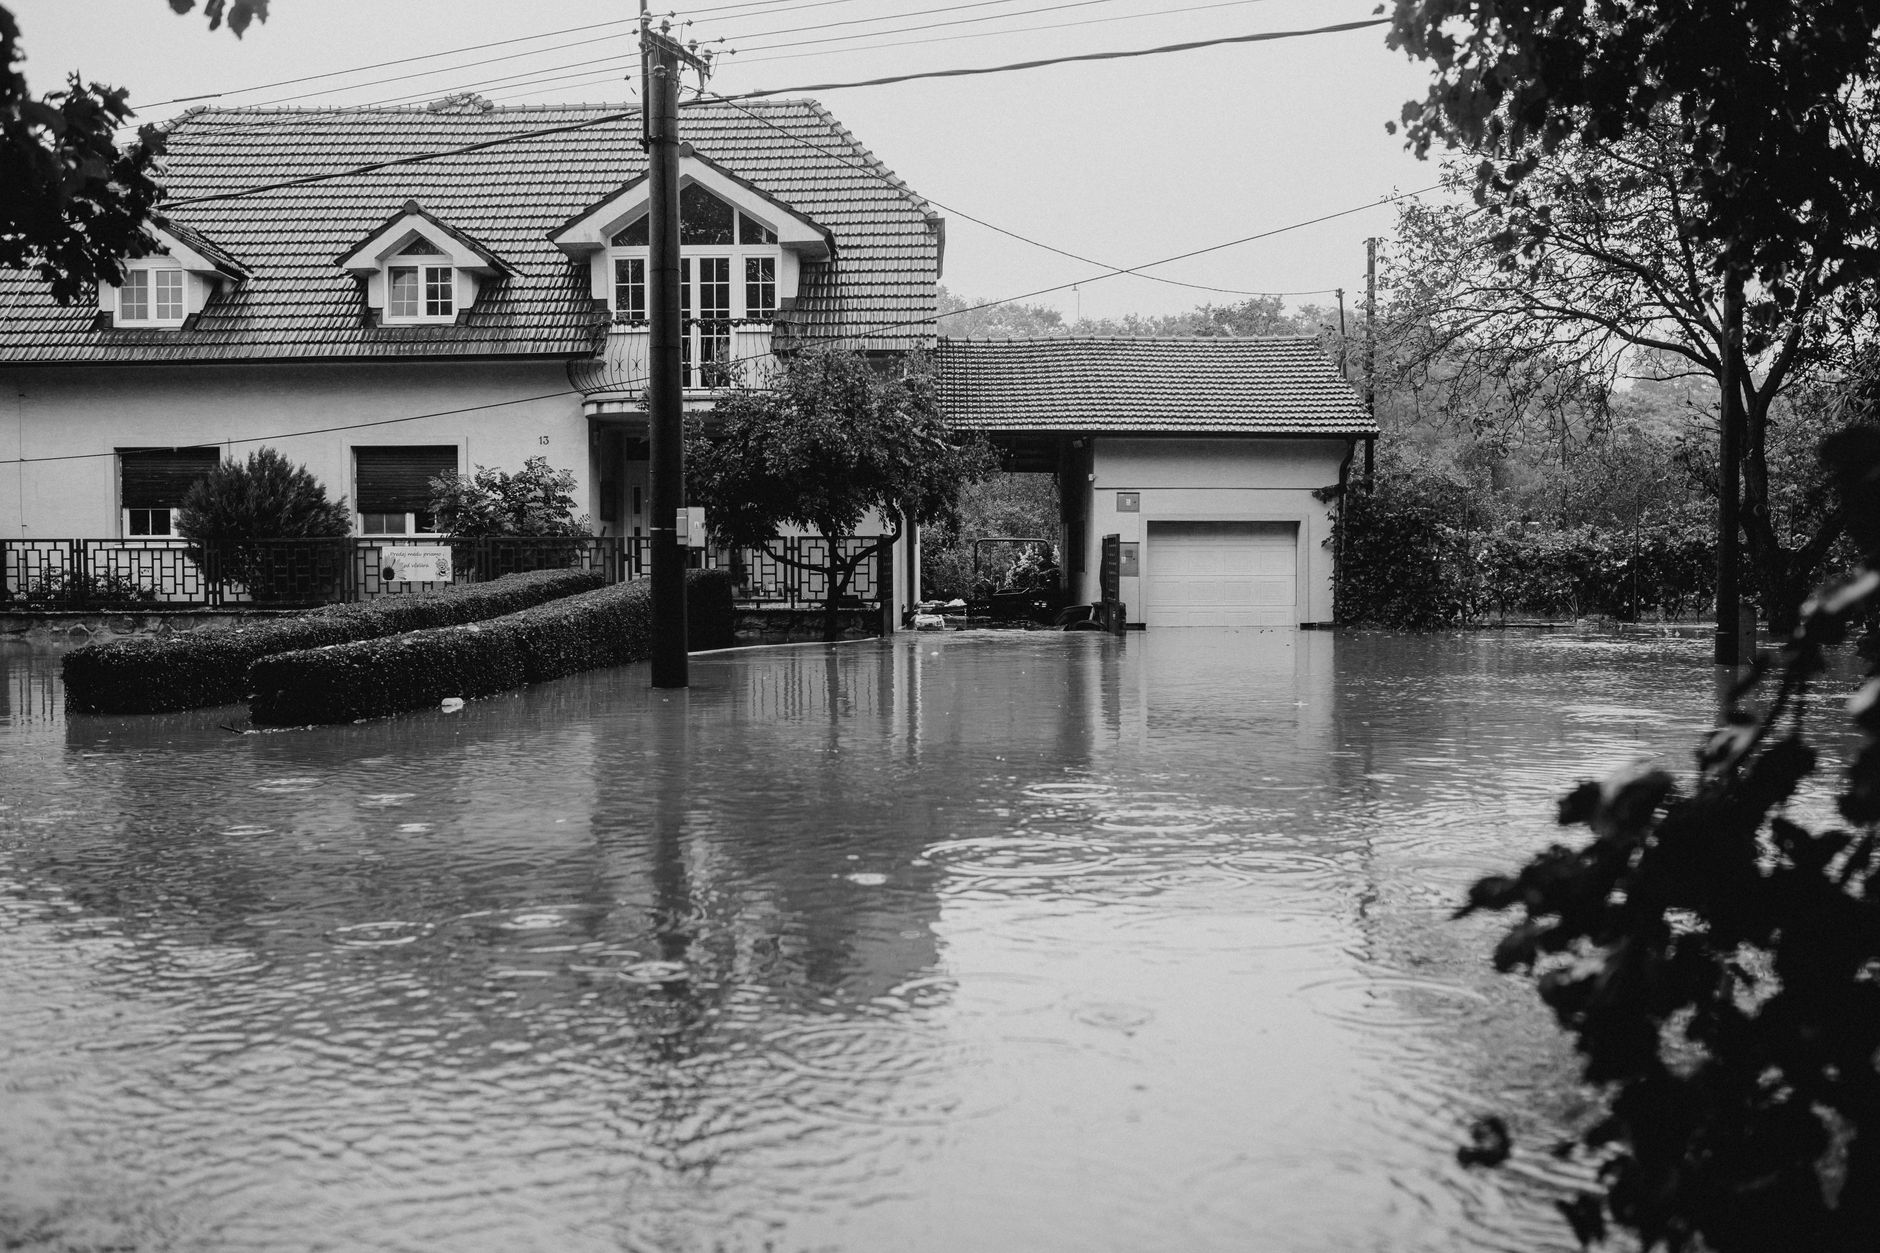
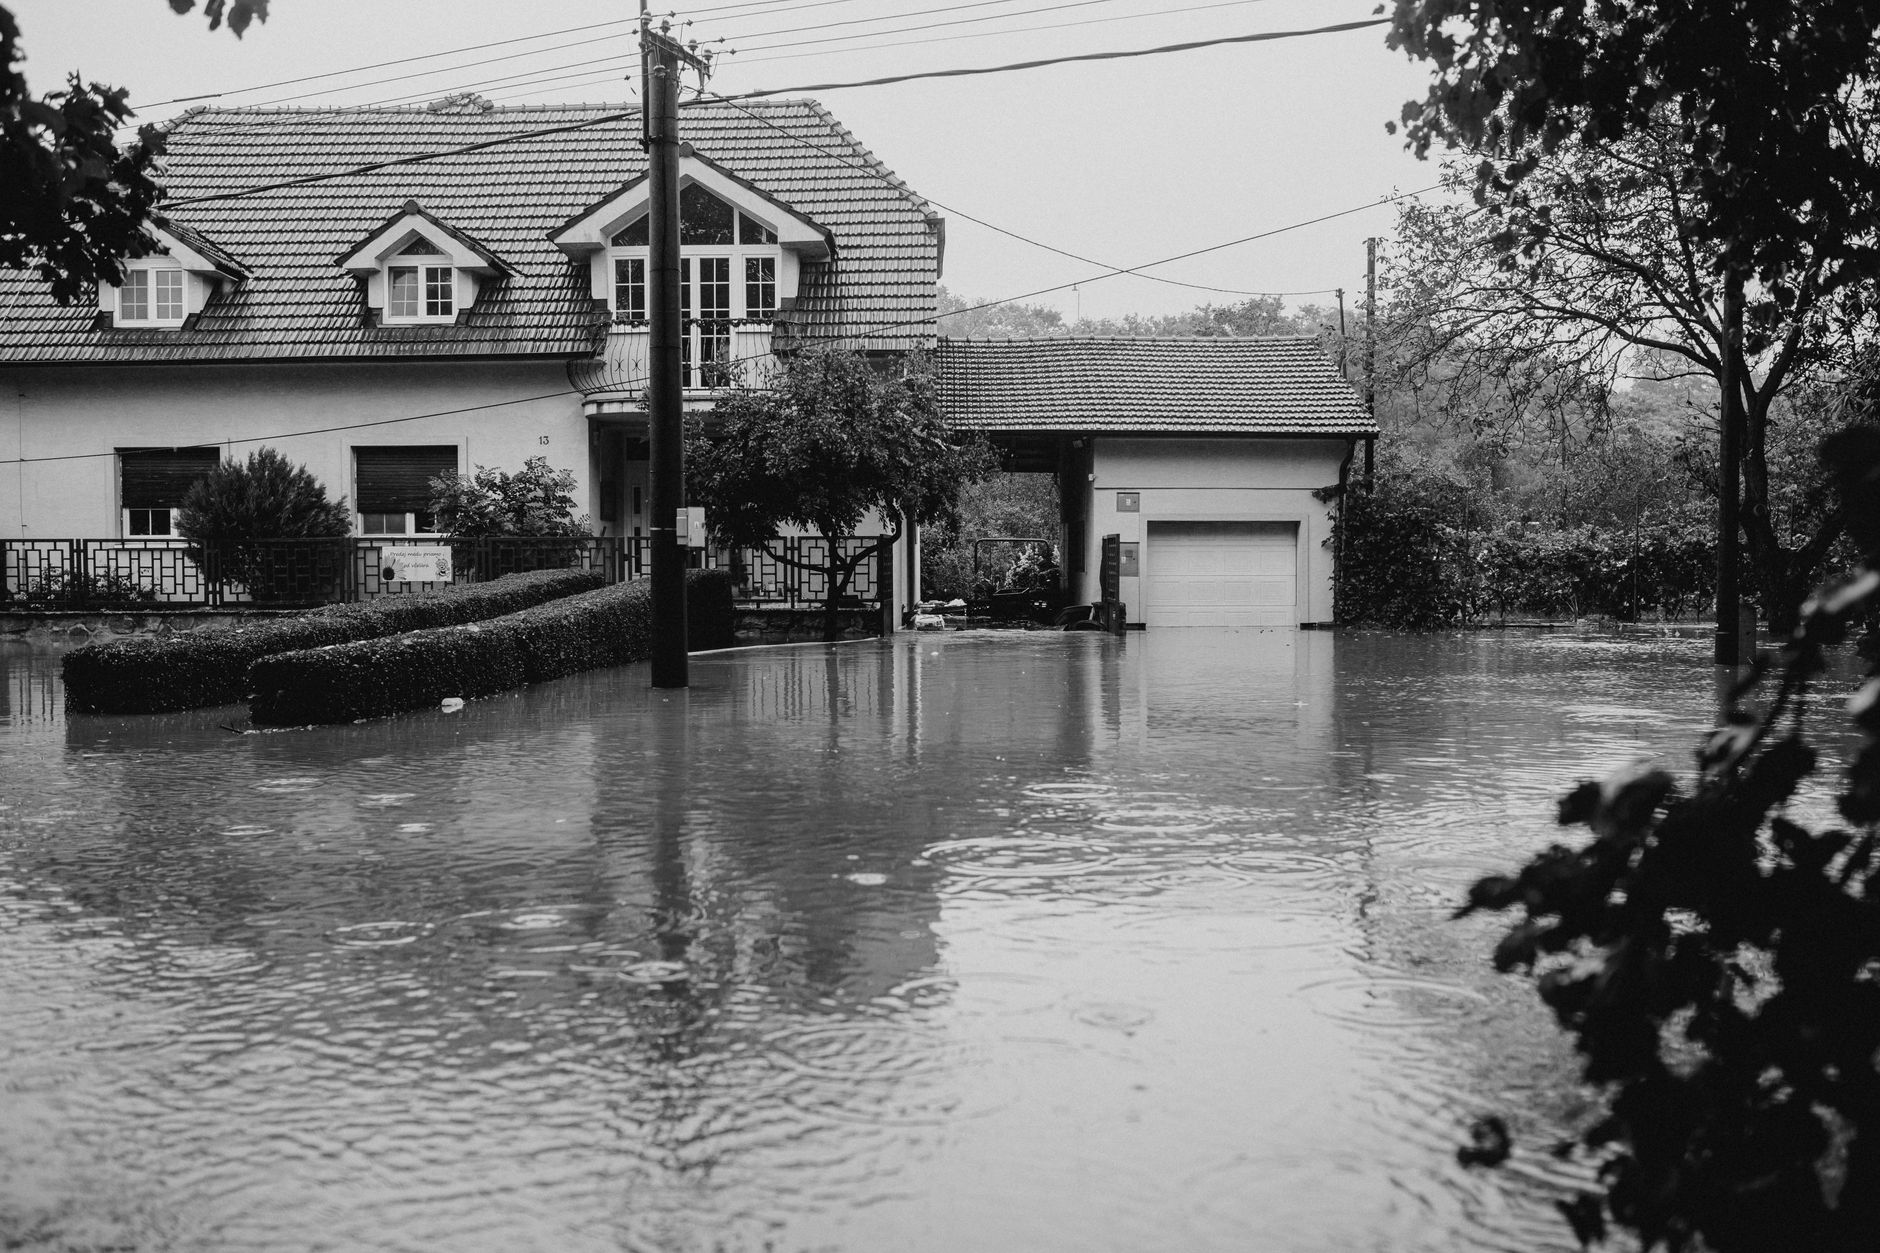
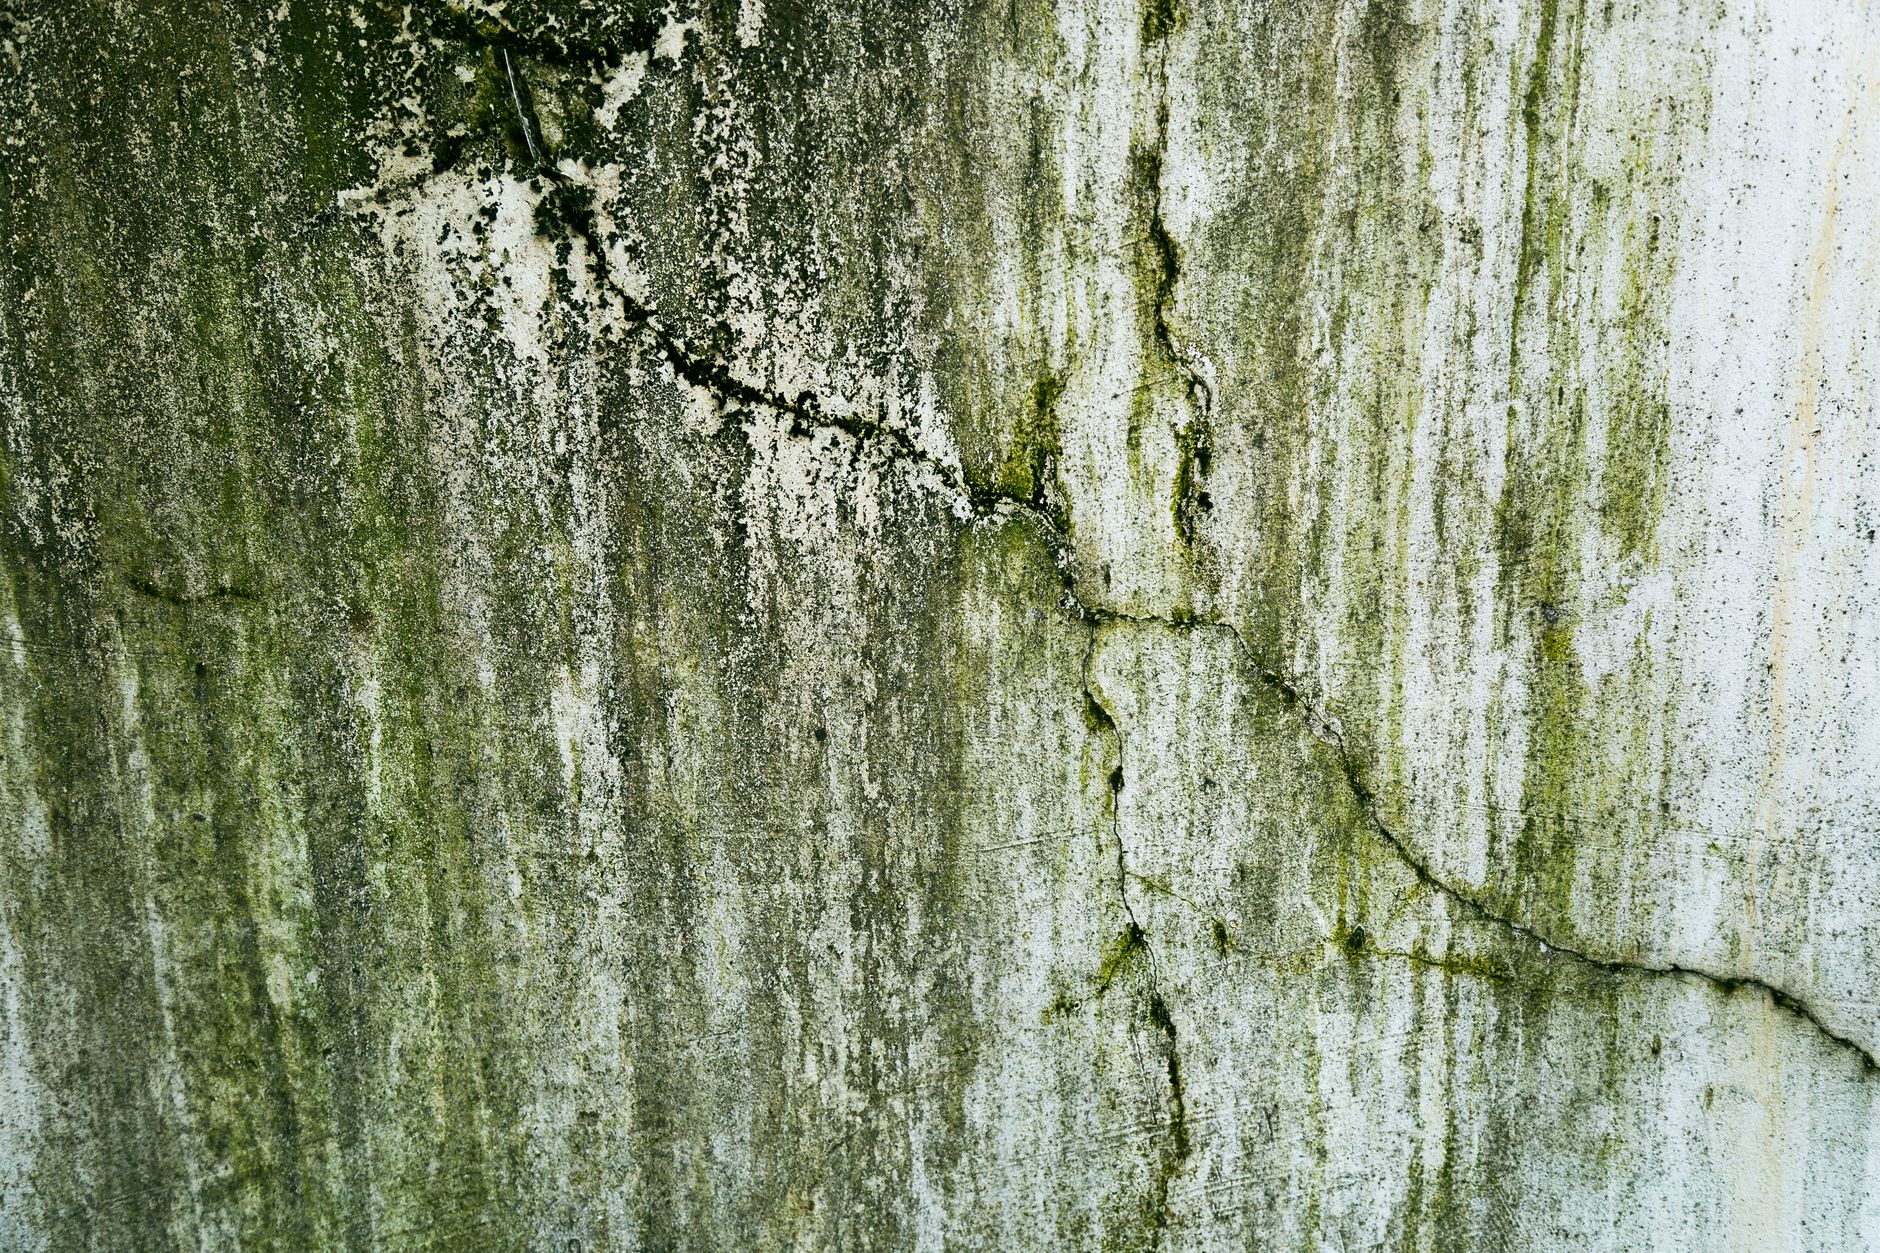
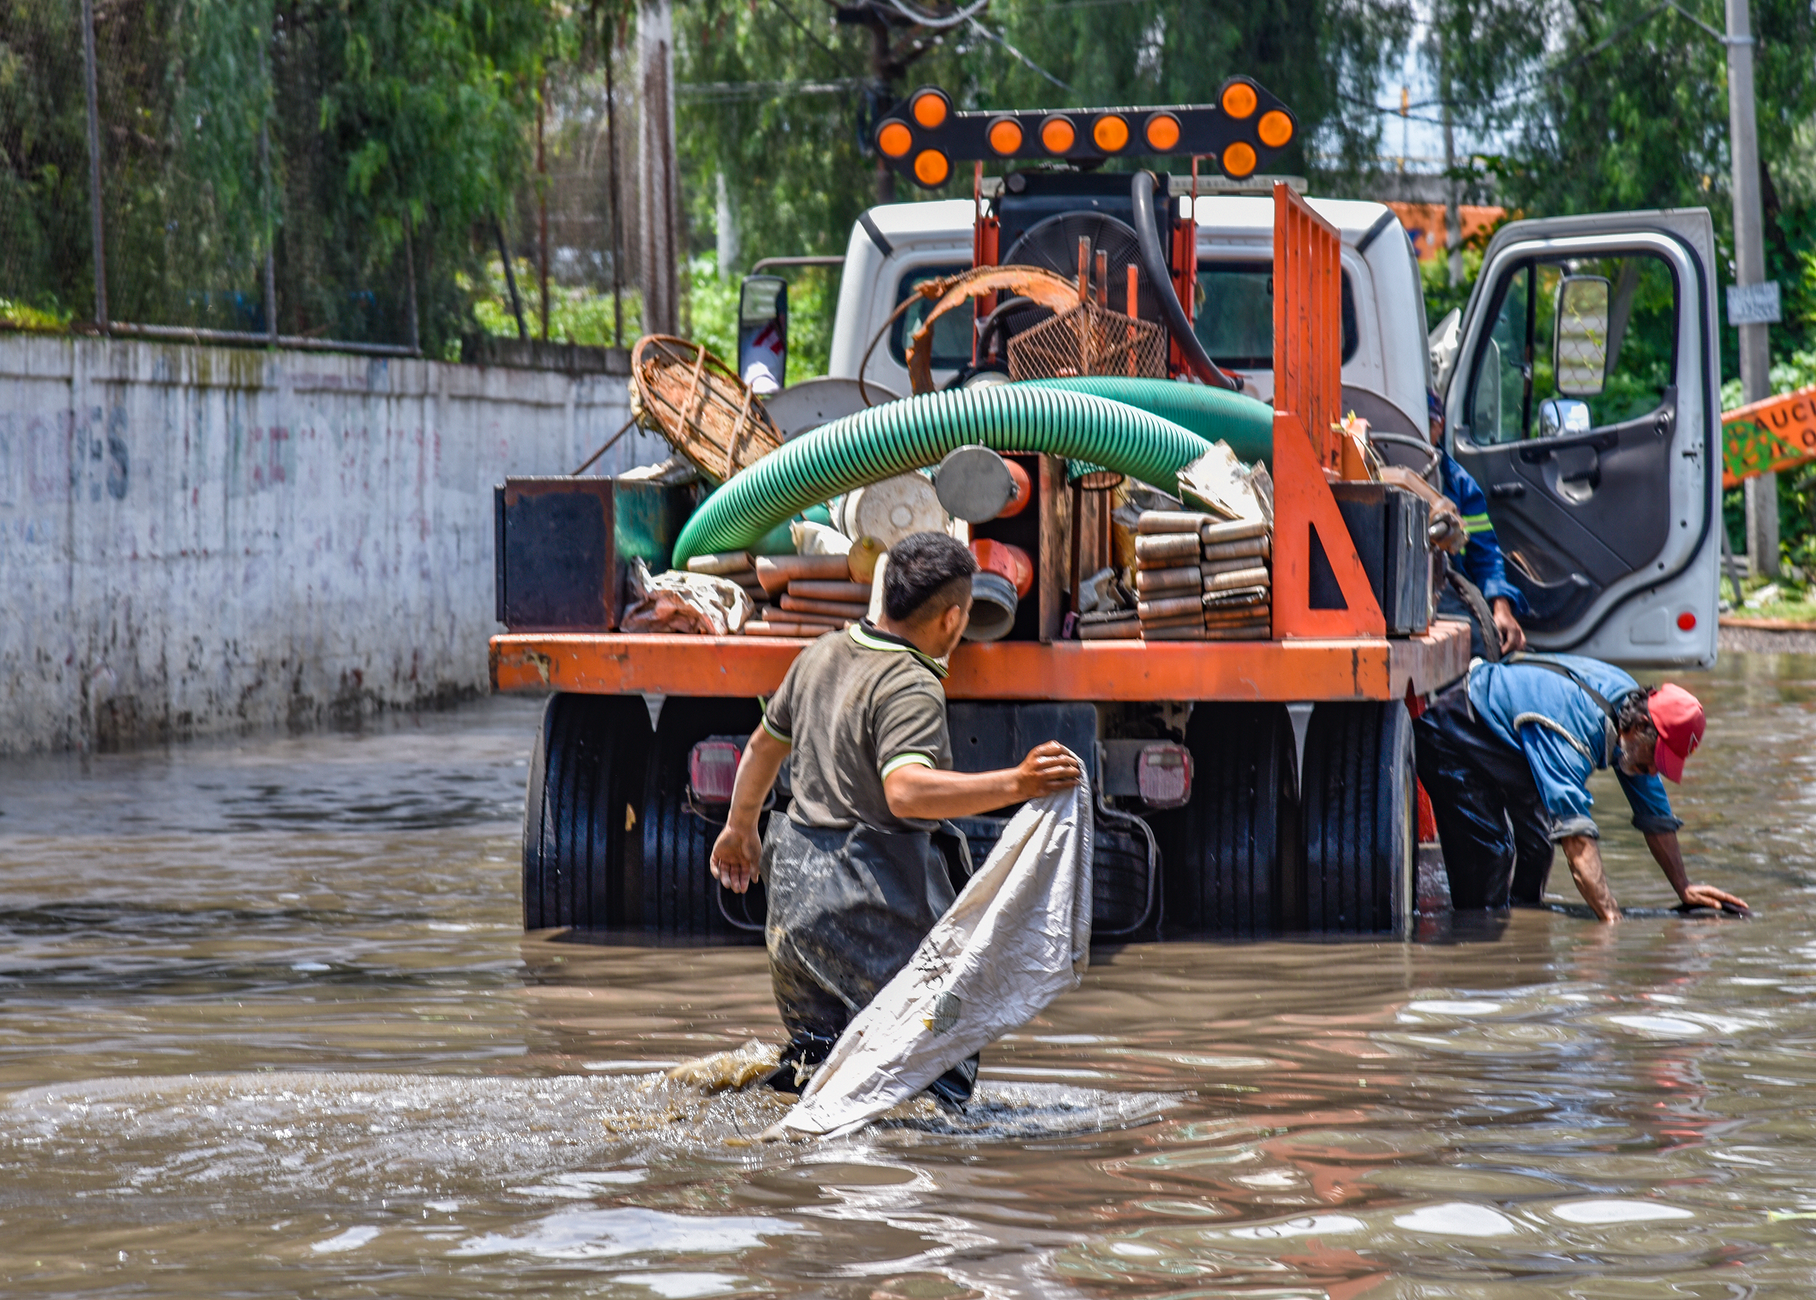
Experiencing flooding in your home can be a devastating ordeal. Whether it's due to a heavy rainstorm or a plumbing issue, the aftermath often leads to a hidden menace—mold. Mold thrives in damp environments and can begin to grow within 24 to 48 hours after water exposure. This article outlines the crucial steps for effective mold removal in Palm Beach, ensuring your home remains safe and healthy.
When dealing with mold post-flooding, the first step is to assess the damage. Start by identifying the source of water intrusion and address it immediately. This might involve contacting a professional service to fix plumbing leaks or ensuring that your home’s drainage system is functioning correctly. Once the source is controlled, you can begin the mold removal process.
Step 1: Safety Precautions
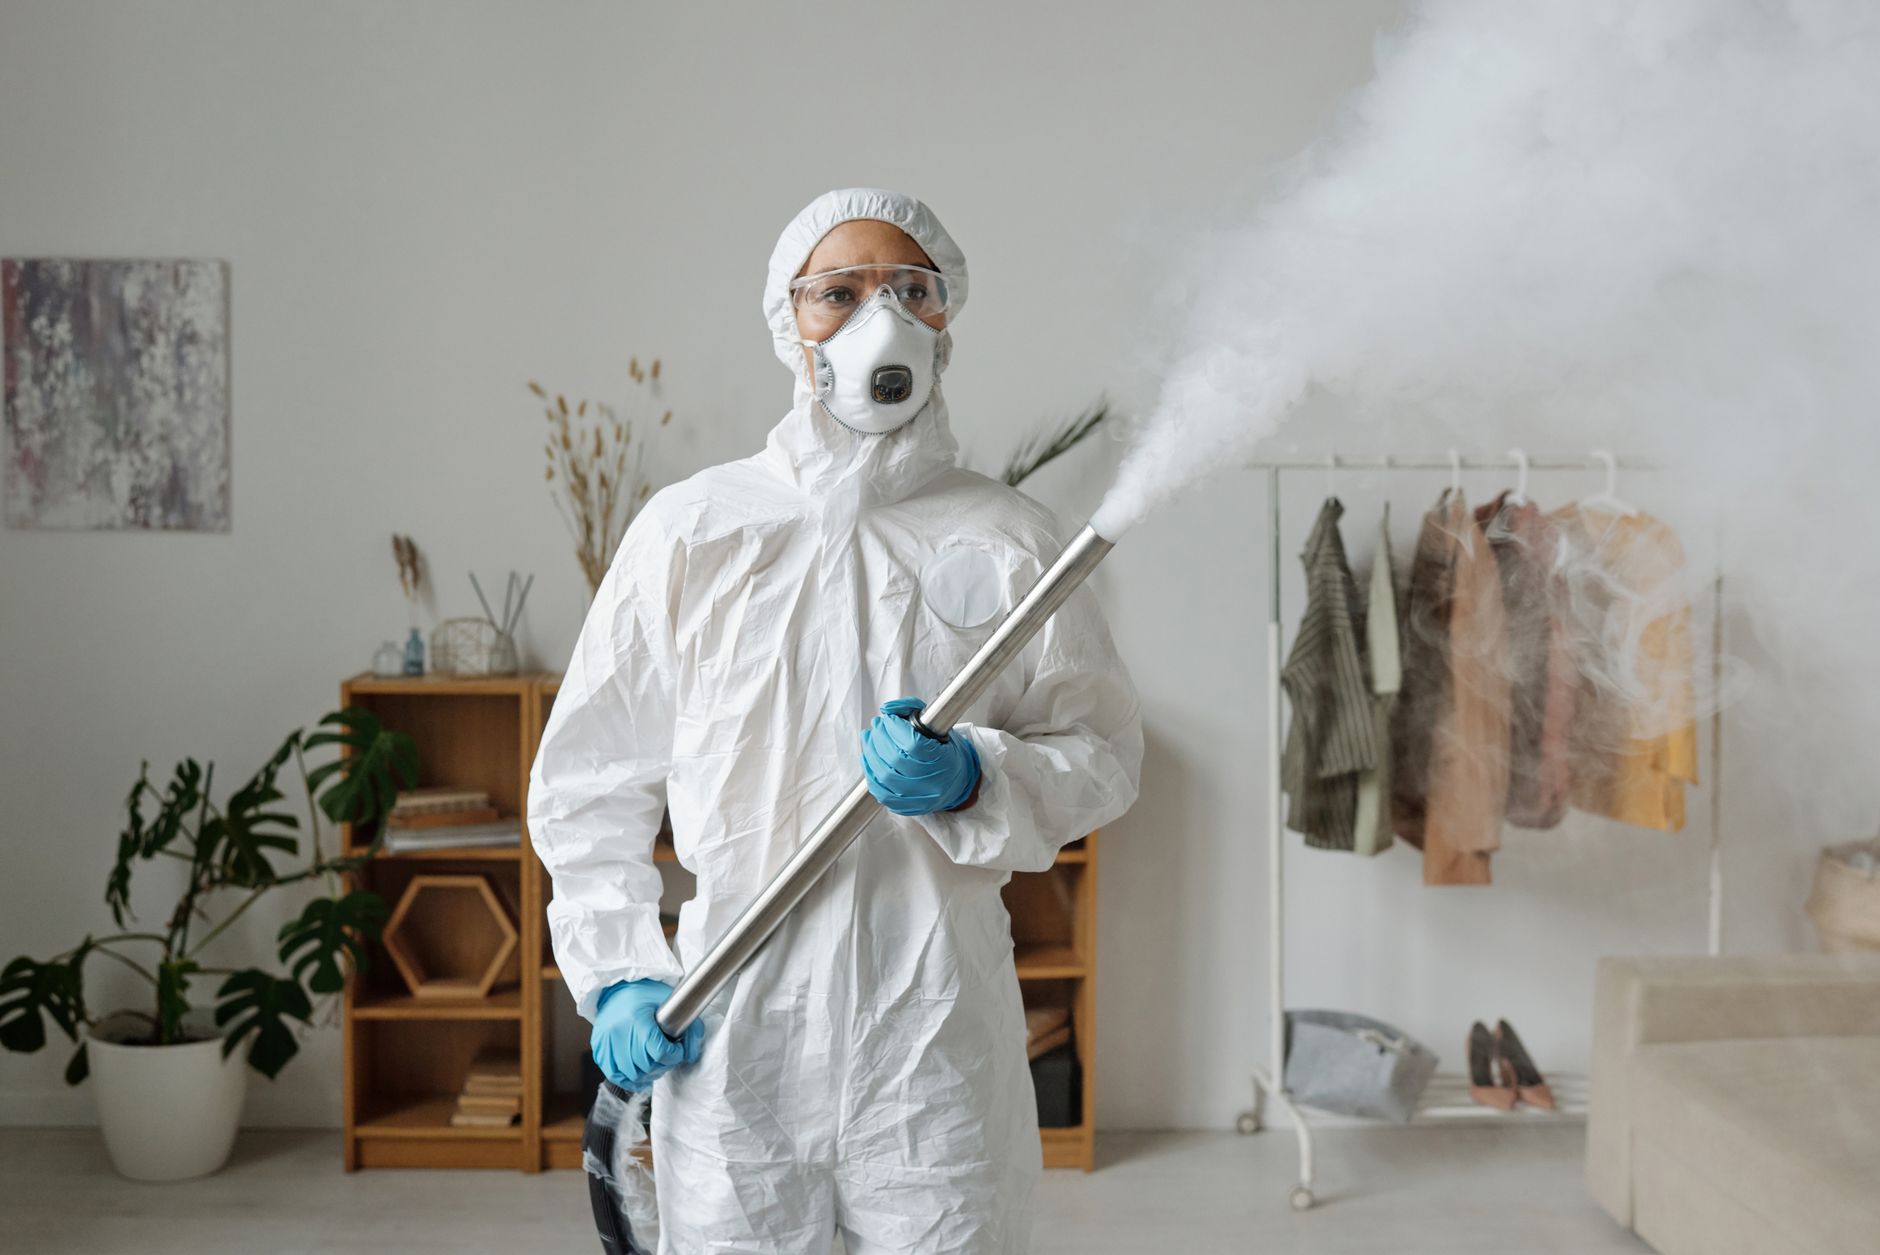
Before you start the cleanup, prioritize safety. Mold can pose health risks, especially for individuals with respiratory issues. Equip yourself with the following:
- Protective eyewear
- N95 respirator mask
- Gloves
- Long sleeves and pants
These precautions will help safeguard your health as you work through the remediation process.
Step 2: Dry Out Affected Areas
Swift drying is critical in preventing mold growth. Use fans, dehumidifiers, and open windows to promote air circulation. If possible, remove wet carpets, furniture, and other porous materials from the affected area. The longer items remain wet, the higher the chance of mold taking hold. Keep in mind that items such as drywall and insulation may need to be replaced if they are saturated.
Step 3: Mold Inspection and Removal
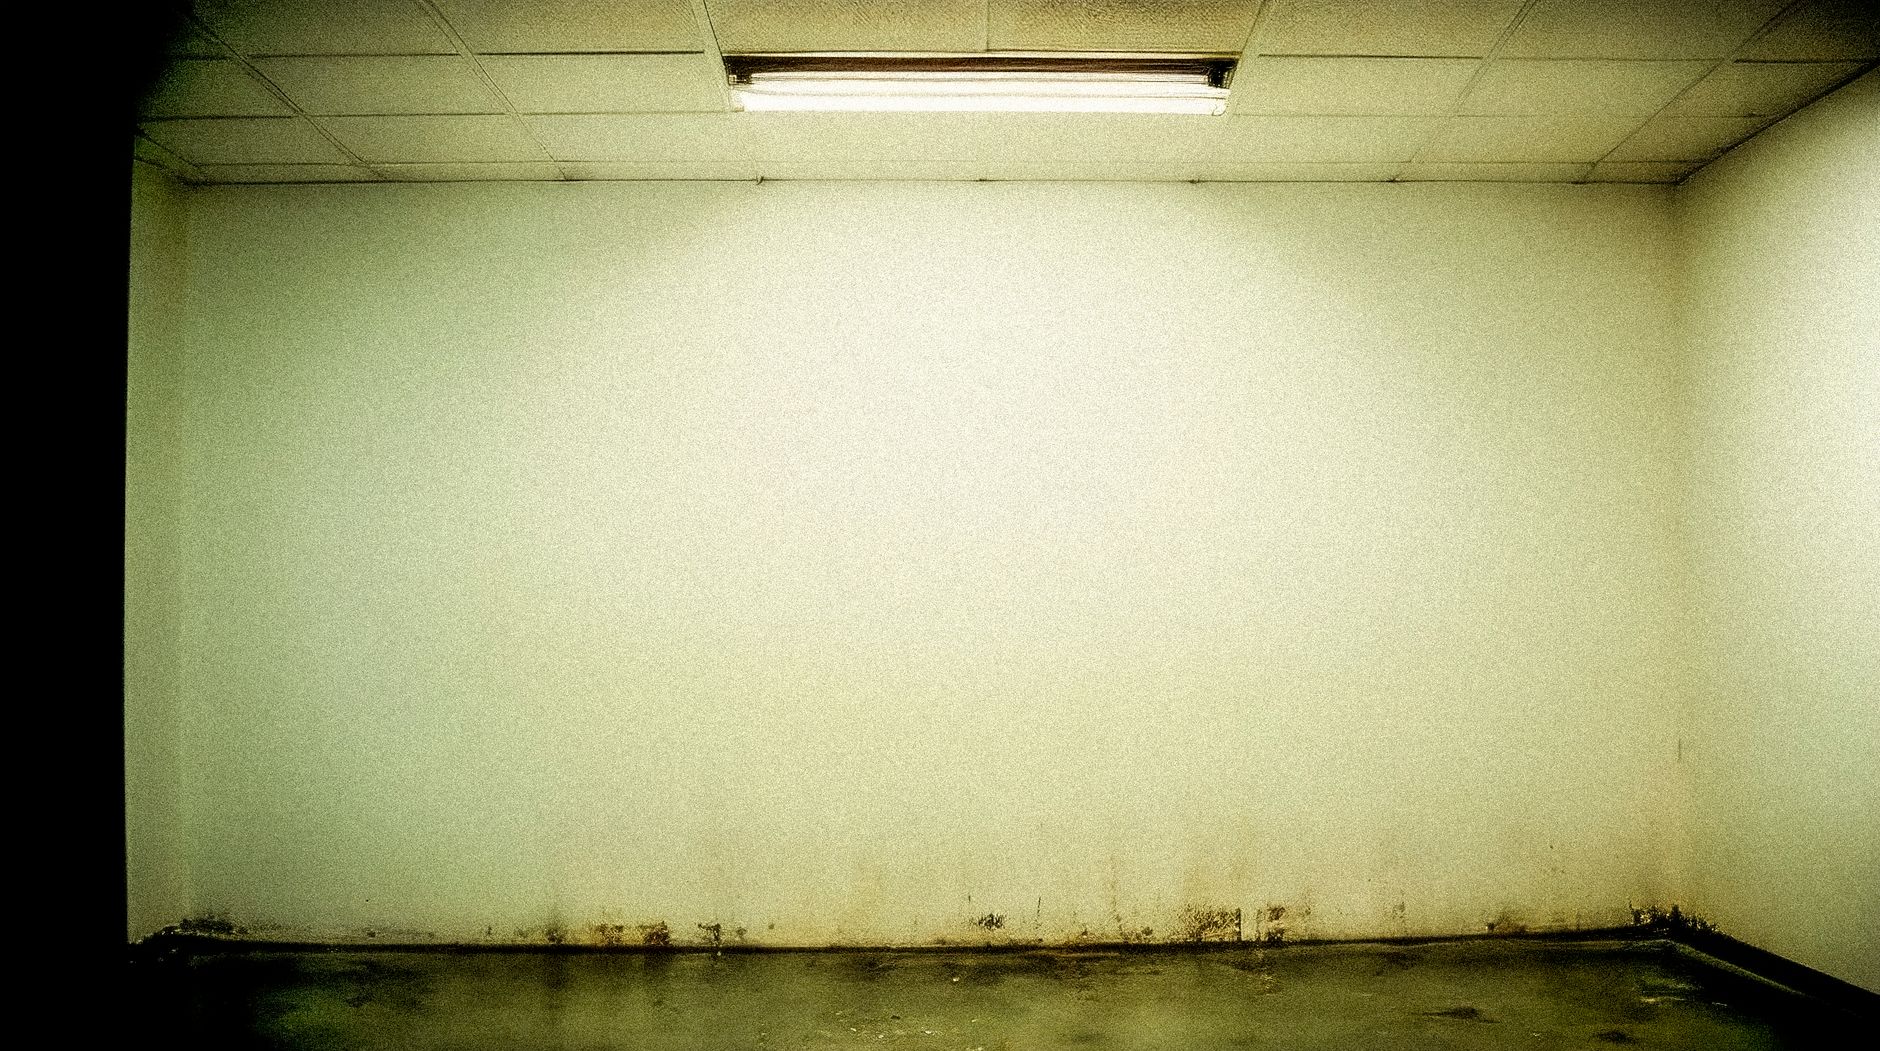
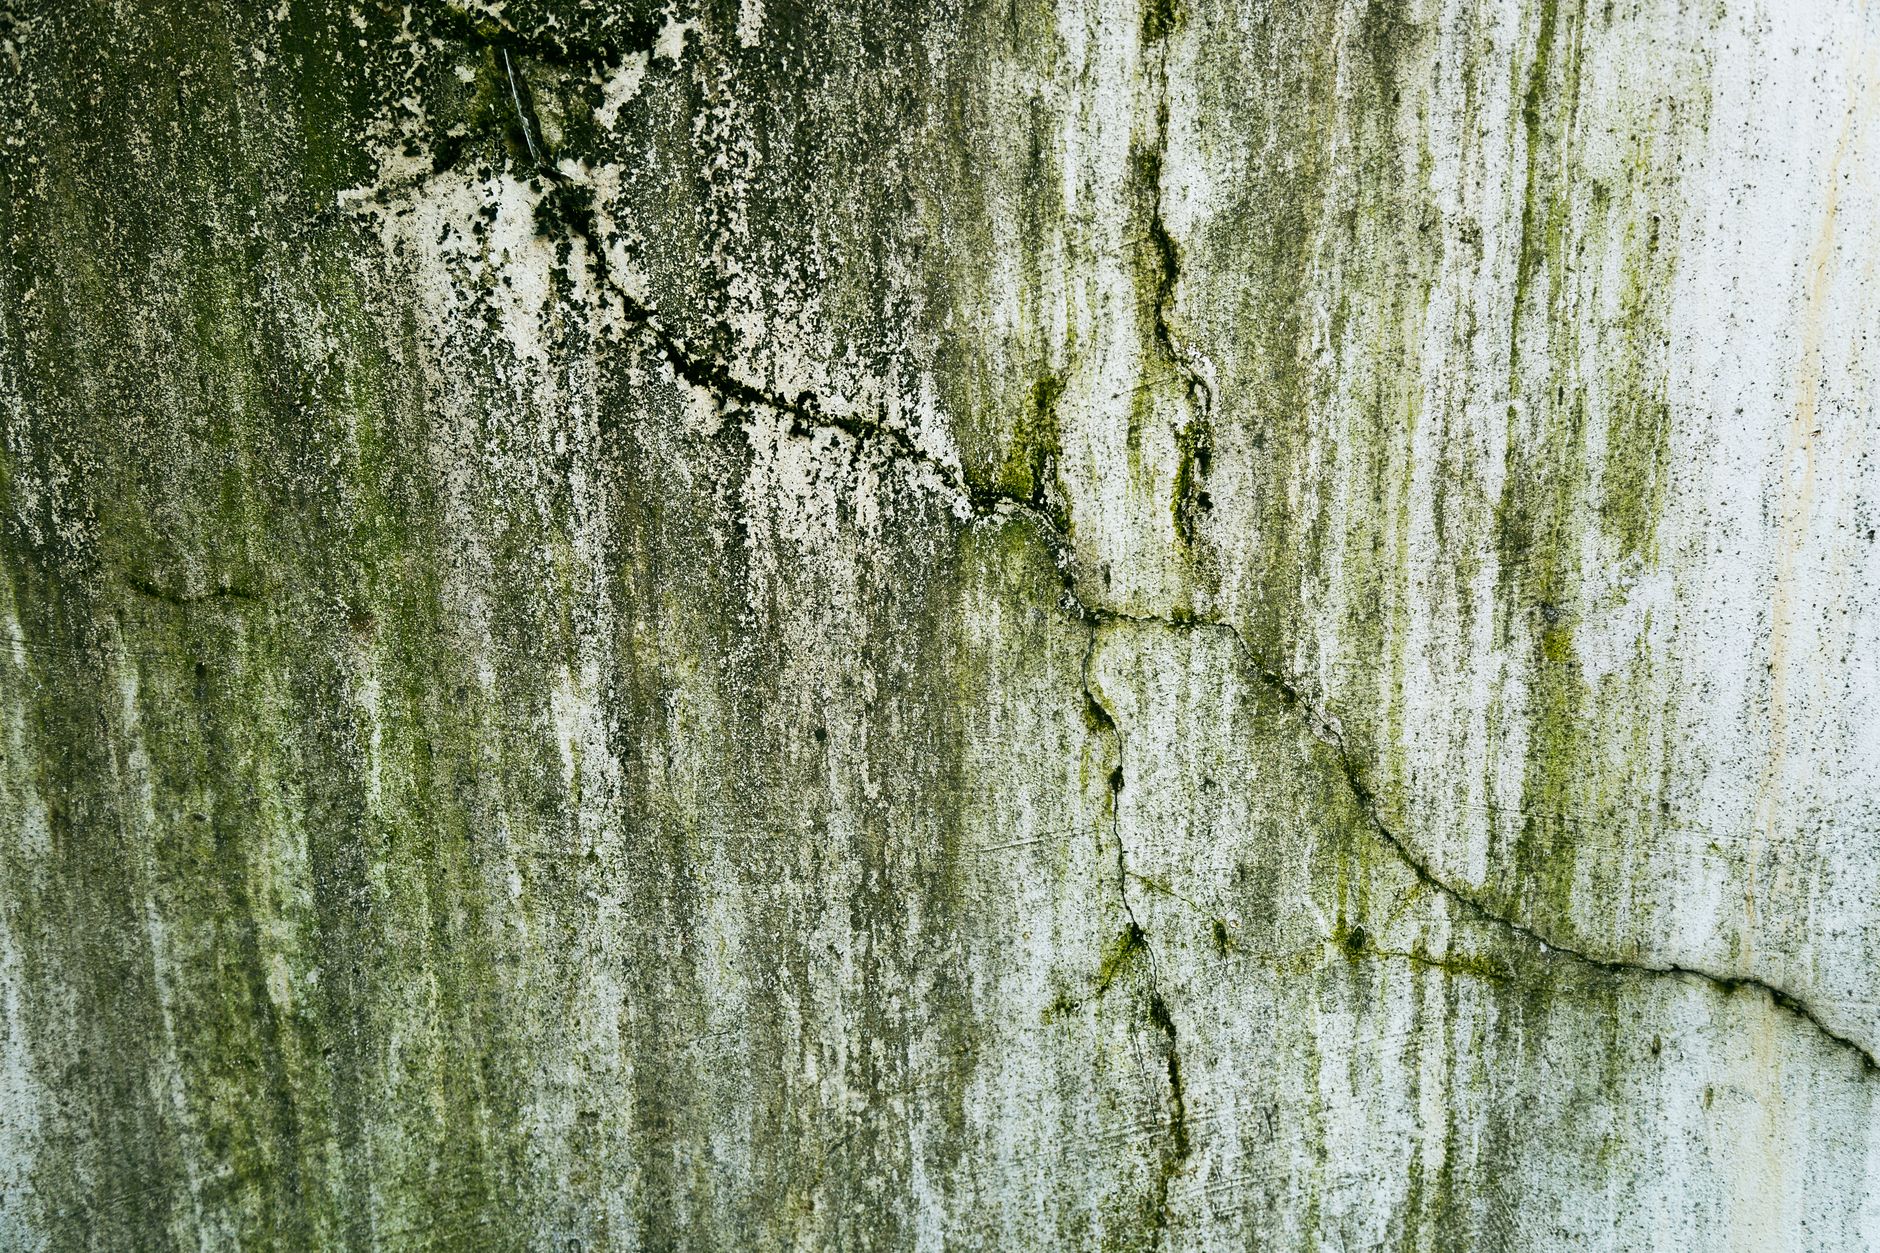
After drying out the area, inspect for visible mold growth. If you spot mold, it’s essential to take action. For small patches, a mixture of water and detergent can suffice in cleaning it off surfaces. For larger infestations or more severe cases, it’s advisable to call a professional mold remediation service. They utilize specialized equipment and techniques to ensure thorough removal and prevent future growth.
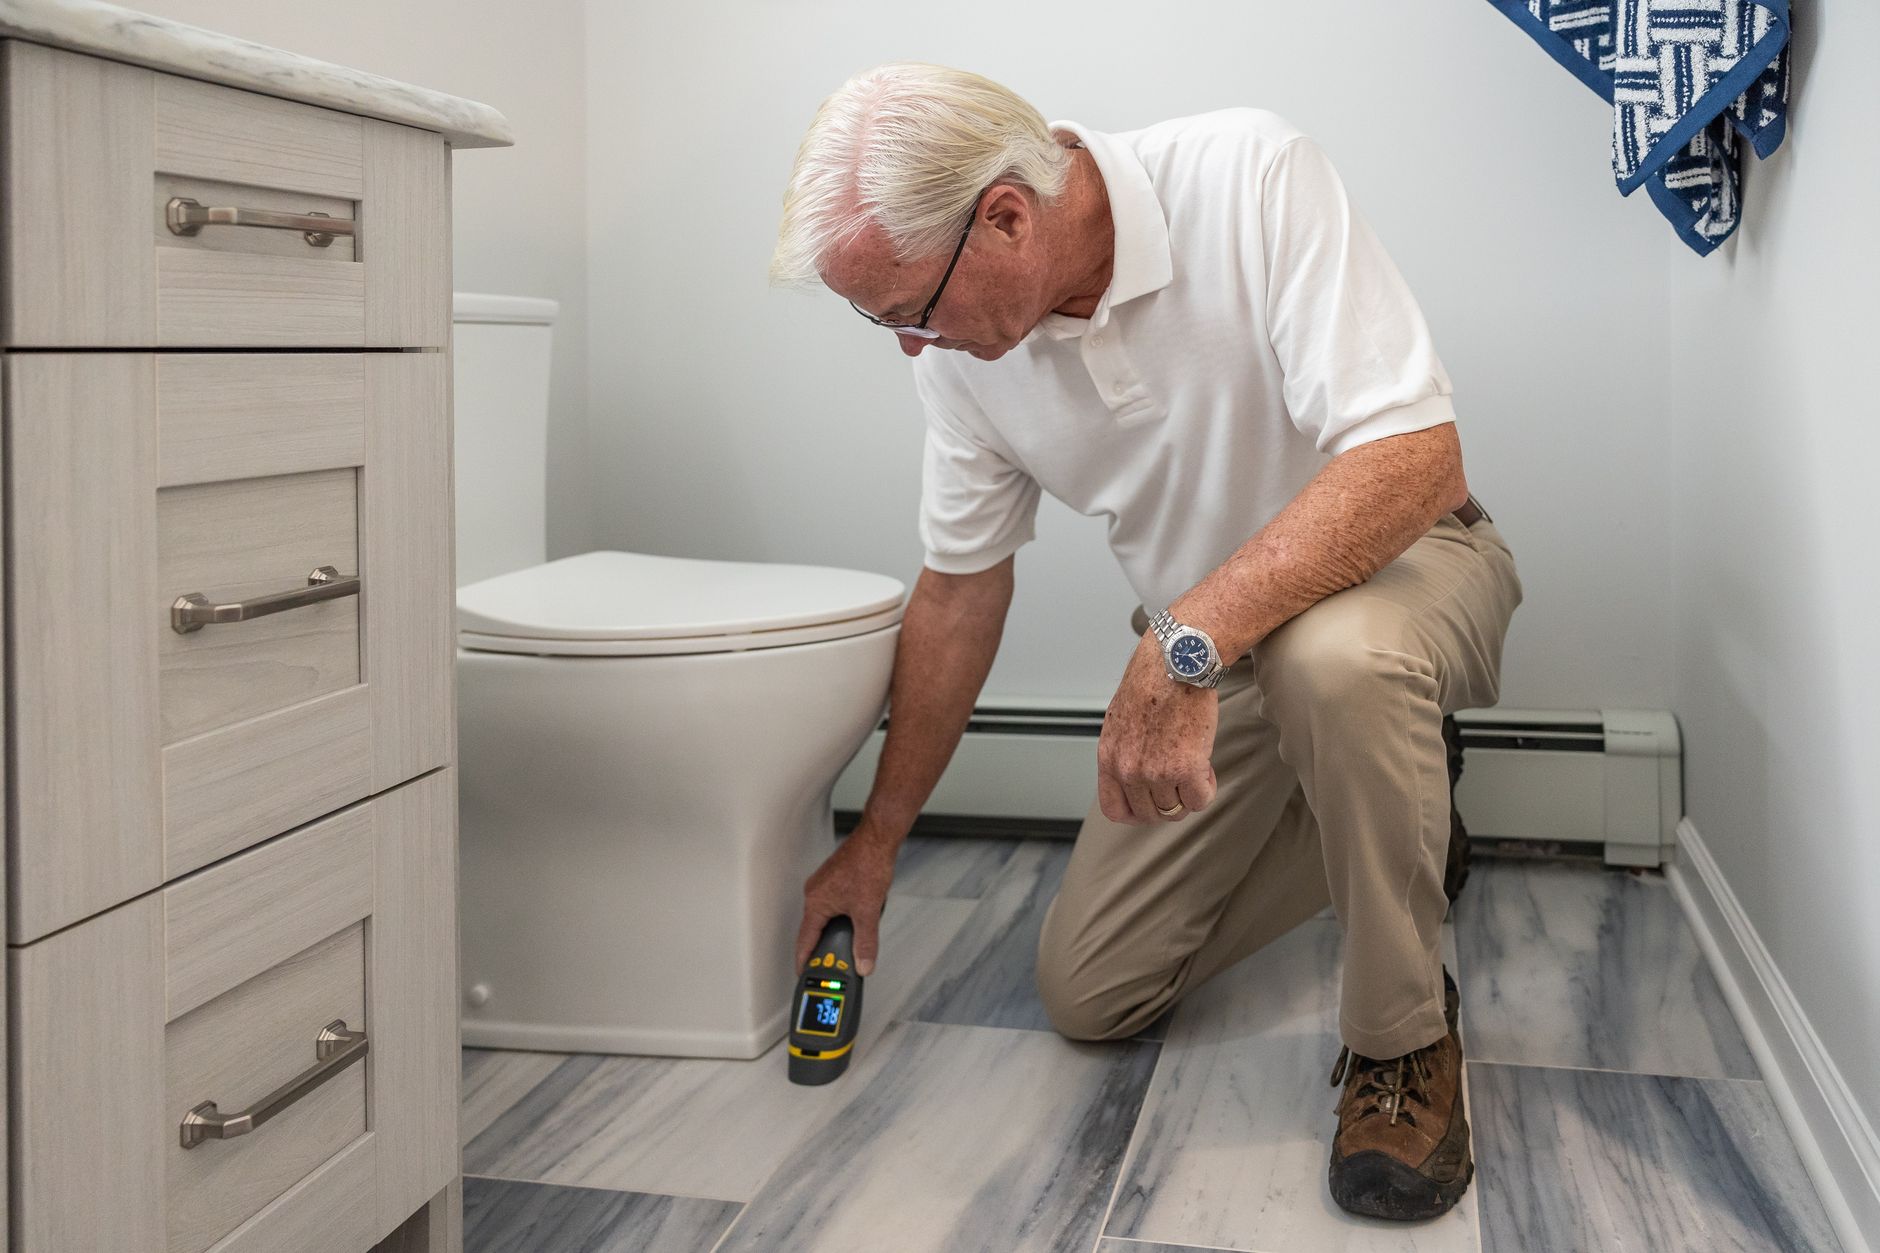
During this process, do not forget to address hidden areas where mold may grow, such as behind walls or under flooring. This is where a professional assessment can be invaluable.
Step 4: Antimicrobial Treatment
After mold removal, apply an antimicrobial treatment to the affected areas to kill any remaining spores and prevent future growth. This step is often overlooked, yet it plays a crucial role in ensuring your home remains mold-free. Consider utilizing services like antimicrobial treatment for a more comprehensive approach.
Step 5: Monitor and Maintain
Once the mold has been removed and the area treated, keep an eye on the moisture levels in your home. Regularly check for leaks and ensure that your home is well-ventilated. Utilizing a dehumidifier in humid climates can also help maintain low humidity levels, making it less likely for mold to return.
When to Call a Professional
While some mold removal can be handled independently, there are instances where you should seek professional help. If the affected area covers more than 10 square feet, if the mold is extensive, or if you have health concerns, it’s best to consult with experts. A professional can ensure that all mold is removed and that your home is safe.
For assistance with mold issues, consider exploring the services offered by other local experts. For example, Broward Restoration Pros specializes in air duct mold removal, ensuring your indoor air quality is preserved.
Conclusion
Dealing with mold after flooding can be daunting, but by following these crucial steps, you can effectively manage the situation. Always prioritize safety, act quickly to dry out affected areas, and don’t hesitate to call a professional if needed. For more in-depth guidance, check out this helpful resource on preparing for mold growth after storm damage.